Gardening Sweet Spots
By Donna Hessel
Online order hassles, masks, crack-of-dawn store hours, lousy selections. Wouldn’t it be nice to get food from your back yard instead of a grocery store? Like Victory Gardens during World War II, Pandemic Plots promise to be the go-to hobby this summer. Grab a shovel and get started.
Step One: Select the right spot
Your garden needs to be in full sun and sheltered from the wind. Decide on how large a plot you want. Be realistic in terms of time and maintenance. You’ll need a couple of hours a week from now through August to keep a 10-foot by-13-foot patch sown, planted, harvested and weeded. Start small. You can always expand the space later.
Clear the ground. Remove the grass (stack the turf somewhere upside down and it will compost into topsoil which can be put back into the beds in a few months).
Step Two: How’s your dirt?
If you don’t know what your soil type is, pick up a handful and feel it. If it’s slimy and you can make it into a ball, it’s clay – what most of us have. If it feels gritty and won’t stick together, its base is sand.
Pour a bucket of water into a 1-foot hole in the soil. If it drains almost immediately, you have sandy soil. If it just sits there, you have clay. You should also do a pH test with a kit from a garden center. Or, you can send a soil sample to a soil testing lab. For sources, go to ohioline.osu.edu/factsheet/hyg-1132.)
Your soil should drain well, contain plenty of topsoil with organic material (compost and manure) to a depth of about one foot and have an ideal pH of 6.5.
Step Three: Plan It
Lay out your garden so it produces delicious food and looks good. Dividing your plot into four areas with paths in between is one plan you might want to consider. Keep sections about four feet wide with as wide a path between them as possible. Paths should be a minimum of 30-inches wide. Anything narrower will be obliterated as plants grow. You will want to add two inches of mulch to your paths for both ease of accessing your plants and to keep weeds down.
If you decide on the four-bed plan, the beds can then be designated for different types of plant groups: root vegetables, veggies such as beans and peas, salad veggies and herbs and miscellaneous selections.
With this plan, you can rotate your plants from one bed to another every year. Rotating each bed over four years will prevent a build-up of pests and diseases. Once you have your garden designed, draw out the plan on a sheet of paper and then attach tracing paper over the design so that you can record what goes where each season, as well as make notes on what grew well or didn’t.
Step Four: Plant It
What do you want to plant in your garden? The key here is to choose as many plants as possible that you can harvest on a Monday for supper and, by the following Monday, they will have grown back so you can harvest again.
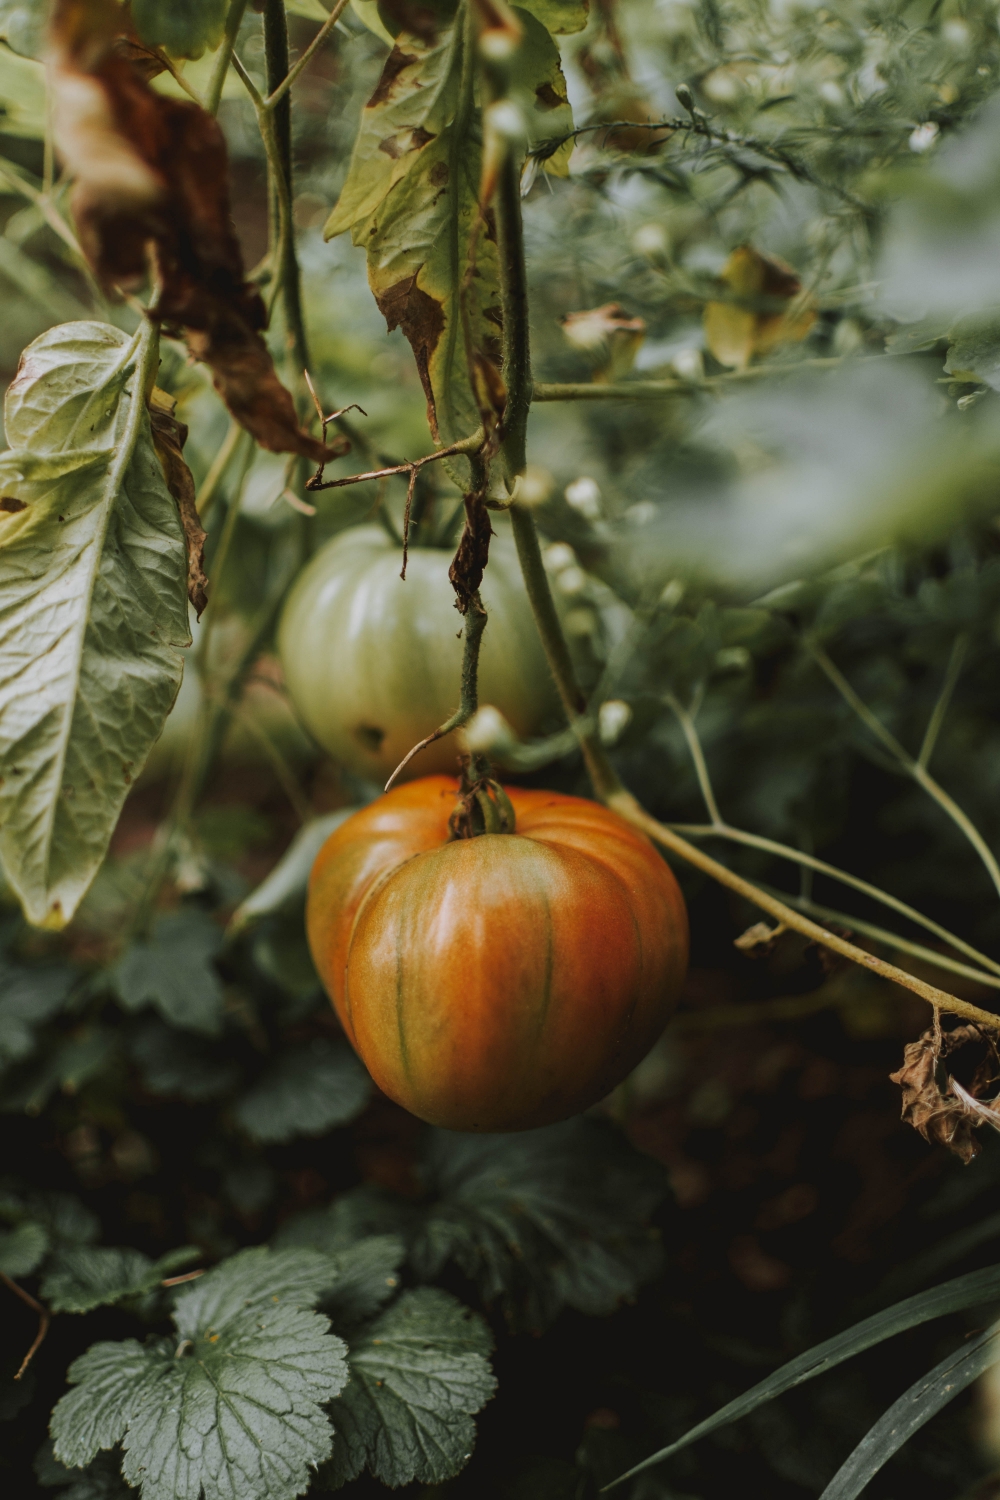
Consider planting your favorite grocery store produce that’s also easy to grow: tomato plants or seeds for bush beans, leaf lettuce, cucumbers, zucchini and herbs. Use one of the garden websites listed to determine how much to plant.
After your garden is in, adding mulch around the plants prevents weed seeds from germinating and makes maintenance easier. If you have ample space, you might want to plant a border of flowers that will both deter insect pests and attract pollinators. Marigolds, nasturtiums, sunflowers, zinnias, cosmos, calendula and sweet peas are good choices to plant from either seeds or seedlings.
Now sit back, relax a bit and look forward to harvesting a variety of fresh veggies to enhance your family’s meals.
No Digging? No Problem
By Marie Elium
Lasagna gardening is an alternative to the heavy work of removing grass clumps.
With a shovel, cut in a deep, angled edge (4 inches) around your chosen space and toss the clumps into the garden spot. Layer newspaper and cardboard over the area. Cover with compost and high-quality topsoil to create a garden OVER the grass.
Consider Container Gardening
By Donna Hessel
Gardeners in our area often find container gardening is the only way to avoid sharing their harvest with deer, rabbits and groundhogs. If you’re new to growing vegetables in containers or have had limited success, here are some tips:
- Containers. Select as large a container as possible. Small ones dry out more quickly and may need daily watering. You’ll want to think about weight — once the pot is filled with wet soil and plant material, it’s going to be very heavy. And you may want to think about appearance. Choose containers that will complement your house and other pots. Think about the depth of the container you’ll be growing in. Plants with deep root systems will be stunted and unhealthy if they don’t have adequate space.
The deeper the pot, the larger the reservoir of moist soil and the less often you’ll need to water. Look online for alternatives to conventional containers such as AquaPots, grow bags and self-watering containers.
- Placement. Most vegetables require at least six hours of sunlight daily. Salad greens and herbs can usually get by with less. Tomatoes, peppers, beans and other sun-lovers appreciate as much sun as they can get. Containers on a base with casters can be moved to catch the sun as it changes position.
- Wind is another factor. If you use a trellis or other type of support in your container, make sure you have a heavy pot and/or that the trellis is secured to a railing or some other fixed upright. Wind can batter and dry out plants’ foliage. Use the shelter of a building or erect a temporary windbreak made from portable fencing or fabric. Arrange your pots so larger plants shield smaller plants. Clustering potted plants also helps raise humidity levels, keeping plants more productive.
- Soil (again). Do not fill your container with soil from your garden or with bagged topsoil. You should fill the containers with a “soilless” potting mix that will retain moisture and resist compaction. Mix in a liberal amount of granular organic fertilizer and a shovelful or so of compost. Mix the elements in a wheelbarrow and fill each container at least 12 inches deep. If I am using a very large container, I put small, used plastic pots or plastic bags of packing peanuts (with slits cut in the bag bottom for drainage) covered with a disk of screen wire in the bottom of the pot before I add soil. This will reduce the amount of soil you need, keep the container weight manageable and make clean-up in the fall much easier.
- Water. Vegetables require a consistent supply of water to perform their best. Inconsistent moisture causes lots of problems, such as blossom drop, poor root development, leaf curling, insect problems and rot. Be sure to check your containers daily. An inexpensive water meter, available at garden centers or online, is a much more accurate measure of moisture than sticking a finger in the soil. Fertilizer is important when you’re growing vegetables in containers. In addition to mixing a granular organic fertilizer into the soil when planting, give your veggies a weekly feeding with a water-soluble fertilizer. Daily watering washes nutrients from the soil and there are a lot of plants packed in a small space, so regular fertilizing is critical to the success of your veggie container gardens.
- Plants. Try potatoes, chard, lettuce, cherry and bush tomatoes, peppers, eggplants, summer squash, Asian greens or pole beans. And don’t forget herbs. A word about tomatoes. There are two types – indeterminate and determinate. Determinate types grow to a specific height (about 3 to 4 feet) and stop there. Indeterminate just keep on getting taller and can grow to 12 feet.
- Mix It Up. Maximize the output of your veggie container gardens by combining plants. When combining several different types of plants in one pot, it’s best to match plants that have a similar need for water and fertilizer. For example, rosemary, which likes hot and relatively dry conditions, would not be a good match with water-hungry cucumbers. To maximize space, you might want to combine a trailing plant with an upright plant. A good source for companion plantings can be found at the Gardener’s Supply website: gardeners.com/how-to/companion-planting/8958.html
It takes one to two weeks for most veggie seeds to sprout the first green leaves, depending on the weather and type of plant. Vegetable seedlings produce results faster and for containers might be preferable to planting seeds. You can find vegetable and herb seedlings at most garden centers and buy just the quantity you need. Don’t forget to include a container of herbs because fresh herbs added to your recipes taste so much better than dried.
As with most projects, dream big but start small. Just one container of cherry tomatoes and a container of basil, thyme and parsley will improve your dinners and give you a taste of vegetable gardening.
Rainy Day Research
You’ll find plenty of tips and sources for plants online. Here are a few favorites:
- Ohio State University Extension – cfaes.osu.edu/featuresFact sheets and many articles on plants, trees, etc.
- Insectid.ento.vt.eduInsect identification and remedies
- Vegetablemdonline.ppath.cornell.edu/home
Plant diseases and controls
Plant database and other information
Select a category and get a list of catalogs for flowers, vegetables, fruit, tools, exotic plants and garden associations
Note: National Garden Clubs (gardenclub.org) is included in the associations’ catalog list. Within their website, Garden Club of Ohio (gardenclubofohio.org) is listed and within that website, you’ll find Emerald Necklace Garden Club (emeraldnecklacegardenclub.com). Once we are able to have meetings again, we will welcome guests!
A variety of information and sign up for newsletter
Frustrated with pronouncing the Latin names of plants? Find a pronunciation dictionary on this website.
See their plant grower’s sales site and sign up for free newsletter
Various gardening topics
Various garden topics, plus catalog offer and gardening tools
National Gardening Association
Free newsletter and social media option
All things gardening and free newsletter
Variety of articles and free newsletter
Free Smartphone Apps for Plant I.D. and Tips
GrowIt
GardenAnswers
GardeningCompanion
PlantSnap
iNaturalist
Donna Hessel is the author of Northeast Ohio Boomer and Beyond’s Gardening Sweet Spots blog. She’s a member of Emerald Necklace Garden Club emeraldnecklacegardenclub.com.
Marie Elium is the editor of Northeast Ohio Boomer and Beyond and president of her garden club.