Welcome back to Gardening Sweet Spots!
Look for tips, techniques and wisdom in addition to general gardening information from members of the Emerald Necklace Garden Club at the beginning of every month. For questions, comments or information, contact us at [email protected].
I want to share with you a winter seed-sowing technique that one of our members swears by. If you’ve tried to start seeds indoors and been disappointed in the results, give this approach a try. If you have grandkids and they are showing some interest in gardening, this is a great activity you can do with them.
Winter-Sowing
When I first heard of the concept of winter-sowing, I was skeptical. However, my four-foot grow light, window sills and picture windows were filled with too many seedlings and I needed to find a solution. I wasn’t going to invest any more money in equipment for starting seeds inside. This concept also fit my desire to recycle, using plastic containers. So what did I have to lose but a handful of seeds and some time? I’m in!
Winter-sowing is an outdoor method of seed germination (invented by Trudi Davidoff) which requires just two things: miniature greenhouses and Mother Nature. This is a fun way to sow your way to a low-cost flower garden. Plus if you have grandkids, it’s a great way to spend a cold winter day inside. Here’s how it works…
Greenhouse
You can make a greenhouse from any number of clear or translucent plastic containers like gallon-size milk or water jugs, lettuce containers or two-liter soda bottles. With jugs and bottles, use a pen-knife to cut around the middle, almost all the way around. The uncut half-inch or so will serve as a hinge.
Next, punch out drainage holes in the bottom of the container. I use a kebab skewer heated over a flame at the stove to facilitate the hole punching job. Also, punch out a few holes along the top portion of the jug. These provide ventilation, which is the key to preventing excess heat from building up in the greenhouse and baking the seeds to death. Toss the cap from the jug or bottle.
Label
This has been my biggest headache in this whole process. In the beginning, I used a permanent marker and marked the seed variety on one side inside the container. By spring, most of the marking had faded so I had to figure out what I had planted and what the seedlings looked like. Oh, did I tell you I think I planted about 15 milk jugs that winter! Now I mark all around the inside of the jug with a permanent marker and apply a clear coat of nail polish over one or two of the labels. Plus, I insert a plant tag to lay along the side with the plant information. I use recycled white yogurt or cottage cheese containers to make the plant tag. (See photo)
Soil
It’s essential to use a light, fluffy, well-draining potting mixture. Pour the soil, preferably to a depth of 2-3 inches, into the container. Often, I reuse my potting soil from the past season’s containers and just use a sprinkling of new potting soil on top.
Water the Soil
I put the soil in a bucket and water it until moist, then transfer to the recycled container. I find this method to be a lot less messy. In addition, I put an old rimmed cookie sheet under the container as I’m filling it with the moist soil so as not to have water leaking out the bottom of the container since I’m doing this indoors in January!
Sow the Seeds
Sow your seeds per the package directions. Gently pat the seeds down so that seeds and soil make good contact. Then replace the lid and secure it with a strip of duct tape. I don’t duct tape the lettuce containers, as their lids usually snap down.
Don’t overseed! Again, this was one of my first-year learning mistakes. I threw more seed in the container than I needed or could use. Believe me, most of the seeds will germinate if they are viable. At the most, I now put 12-15 seeds in a container.
Take the Greenhouse Outdoors
Your planted and labeled greenhouse is now ready to brave the outdoor elements. Select a location that is safe from strong wind, but where sun, rain, snow will be freely admitted. Relax! Now sit back and let Mother Nature take over. As the weather chills and warms, your seeds will freeze and thaw. These natural actions loosen the seed-coatings. I set my greenhouses right in the snow in January and February as I get them planted.
Spring! Now What?
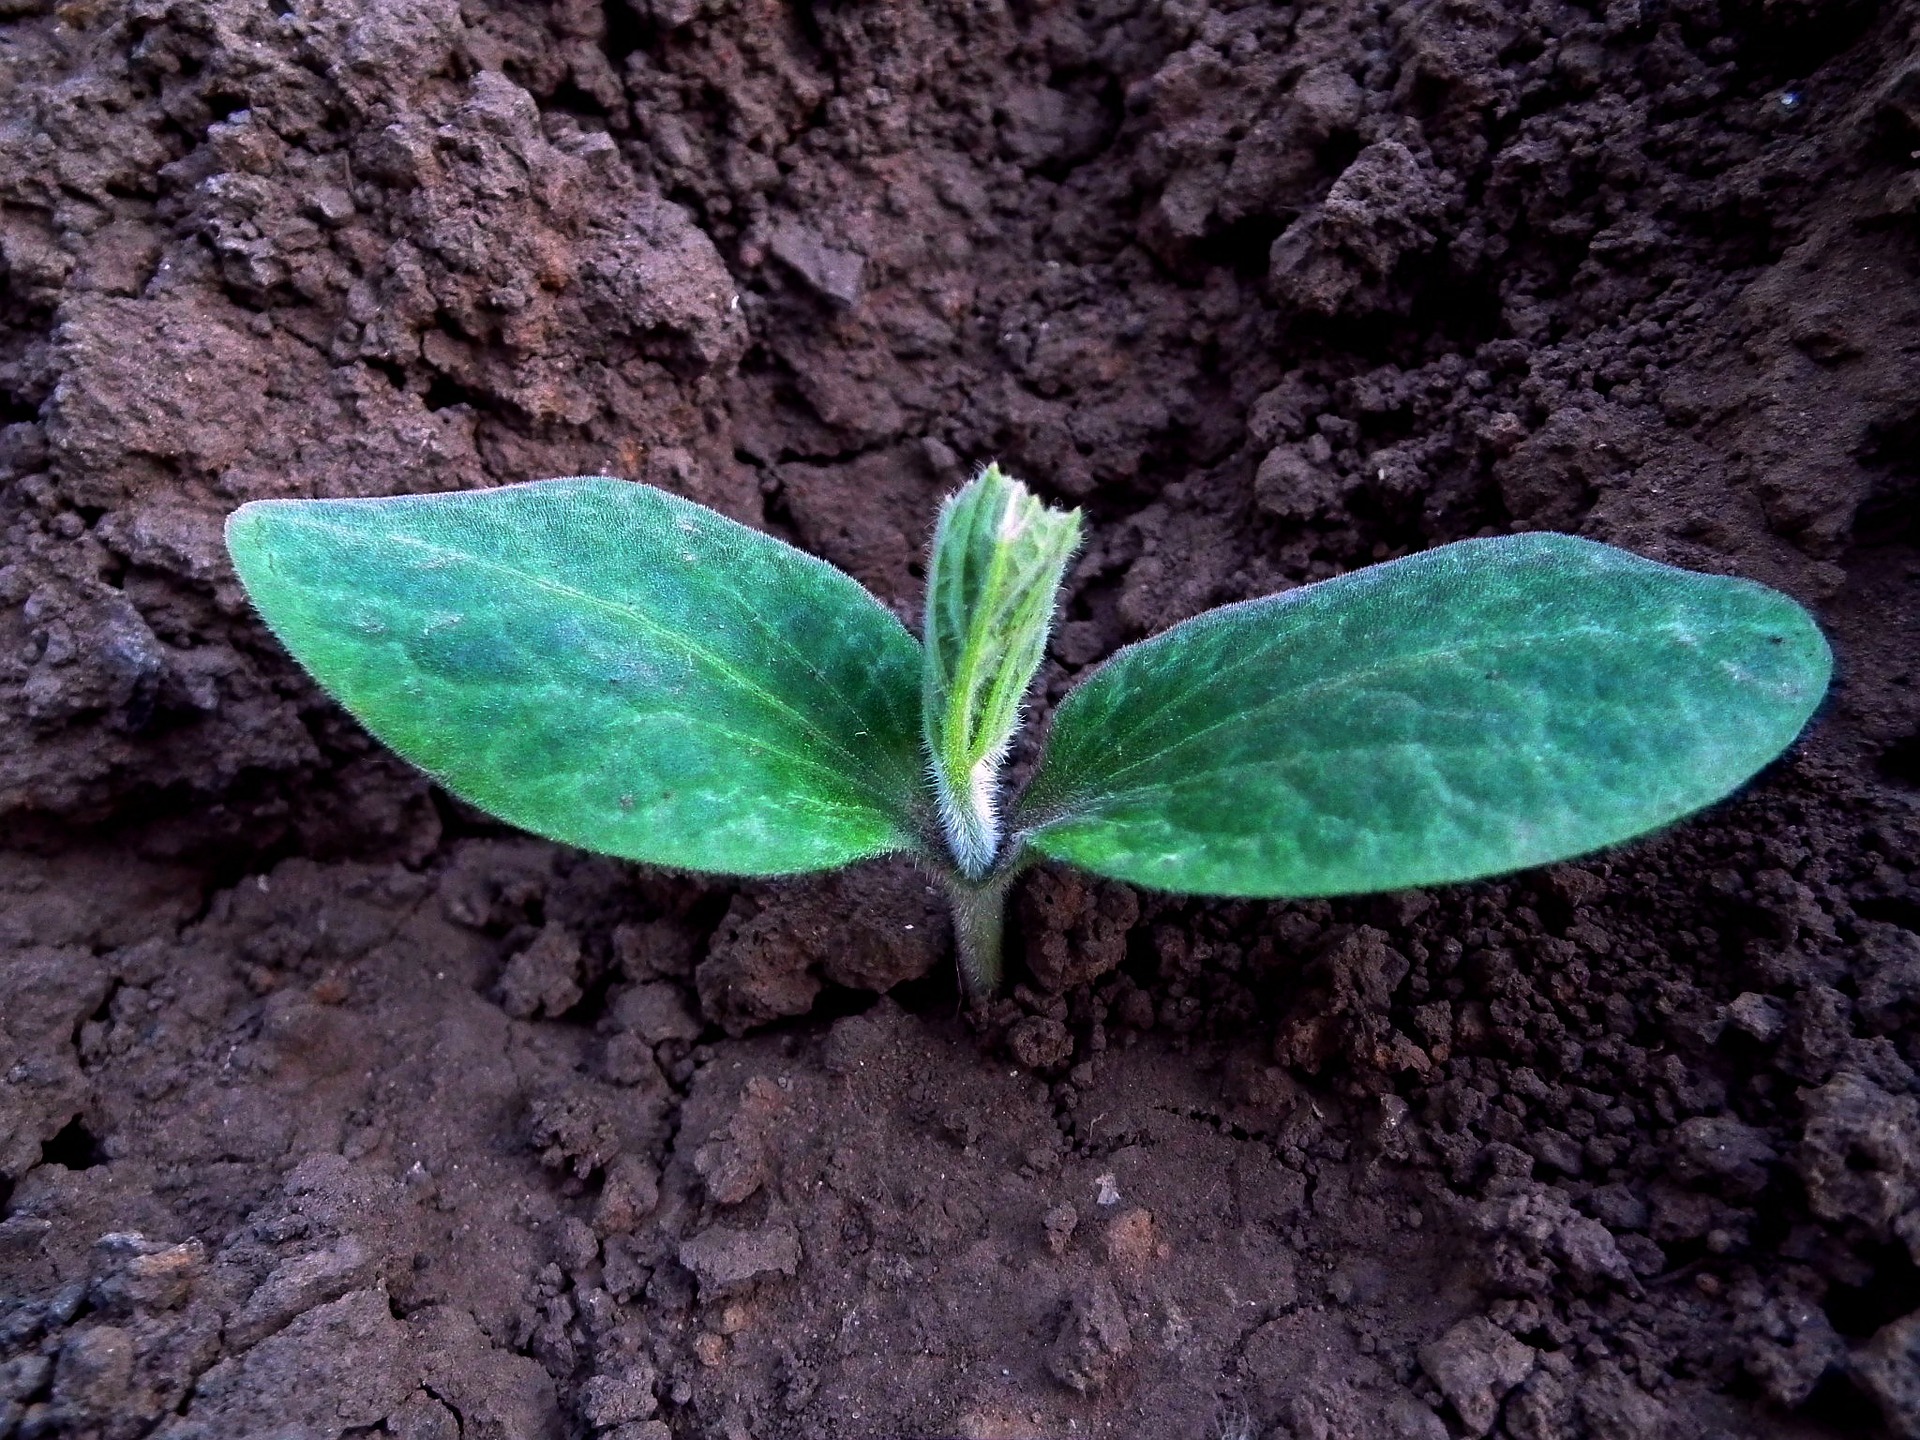
Start checking for seedlings to emerge. If the soil appears dry, open the tops, moisten thoroughly but gently and re-secure the tops. Only when the evenings start to warm will I leave the tops off. I usually start transplanting the seedlings once all danger of frost is gone and the seedlings have developed their second set of leaves. This is usually May or early June if I’m behind in my garden chores! Gently loosen the seedlings from the container and plant in the desired location. I do like to amend the soil a little where I’m planting them with a bit of compost and Osmocote (time-release fertilizer) and water thoroughly.
I can’t tell you how advantageous winter-sowing can be. Winter-sown seeds grow up to be strong, sturdy plants, completely prepared for glorious careers in the open garden.
![]()

Jess
I am in NE OH and use this technique for milkweed. Are you able to plant summer annuals like this, or perineal flowers like this also?
Estelle R. Brown
Jess, as far as seeds to try, gardening blogger Donna Hessel says, “Perennials for sure — make sure they are the type that reseed themselves, not the newer sterile cultivars. You can try annuals that reseed, such as larkspur and nicotiana. Petunias and impatiens, etc. are probably better started indoors under grow lights in mid-March or early April for hardening off when the weather warms up in the spring and planting outdoors in May after the last frost date (usually around May 15th in Northeast Ohio).
Sharon
So when is the ideal time to start this process?
Estelle R. Brown
Sharon, in response to your question about winter sowing, gardening blogger Donna Hessel says, “The answer to when to do it is NOW. Actually, they can be started in January. Be sure there are drainage holes in the bottles. (I started one jug with larkspur seeds at the end of January. It has been totally covered with snow drifts all of February and just reappeared this week!)”