Gardening Sweet Spots
By Donna Hessel
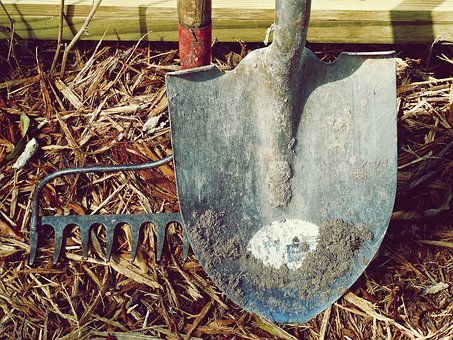
Pat yourself on the back and breathe a sigh of relief. Your garden has been put to bed for winter – perennials cut back and mulched, frost-blackened annuals and veggies pulled and trashed, tubers tucked away for their winter’s rest, leaves raked and composted. Tools…wait a minute. What about those gardening tools? Now’s a good time to take an hour or so to really look at your gardening tools and get them ready for spring. Good tools are expensive, and they will last many years with a little annual TLC.
First, clean them. Soak any crusted with soil and then wash off the soil remnants and grime that have built up over the summer. A wire brush works well for this job. Remove any rust spots with sandpaper or steel wool. Blades can be sharpened with a whetstone or file (sharpen at a 45-degree angle to the blade). Then brush tools with oil (vegetable oil is fine). If handles are made of wood, a coating of linseed oil or paste wax will keep them from splitting.
Store hand tools in a bin and hang larger tools on hooks or store in a dry place in the garage. Make a note of any that may need to be replaced. Come spring when you are anxious to begin digging and planting, you’ll appreciate having clean, sharpened tools ready to use.
Other Winter Clean-up Chores
Uncoil hoses and drain the water from them before recoiling them for storage. Remove hose nozzles and store them for winter. Empty watering cans and stack or hang in a dry place. Drain gas and oil from the lawnmower. Clean the blades and sharpen them or make a note on your calendar to have them sharpened in early spring. Clean up and store larger tools such as weed eaters, leaf blowers, rototillers, etc.
If you’re a container gardener, empty containers and scrub them with a bleach/water solution (9 parts water to 1 part bleach); let dry thoroughly, then stack and store in a dry place indoors. Ceramic, terra cotta and most resin containers need to be stored indoors or where temperatures stay above 32 degrees. Placing 2-3 sheets of newspaper between each stacked container assures they will be easy to separate next spring. Wash and store small plastic pots and seedling multi-packs in a sack to use as a base under the soil in larger containers or to start your own seeds next spring. When used as a base in large pots, under the potting soil and with a piece of screen wire on top, less soil is needed, containers will be lighter in weight and easier to transport.
Now, relax and breathe that sigh of relief! You’re absolutely ready to take advantage of that first urge to garden next spring.
![]() Donna Hessel is the author of Northeast Ohio Boomer & Beyond’s Gardening Sweet Spots blog and has been working in gardens for as long as she can remember, beginning as a child, pulling weeds and planting beans and radishes in her grandfather’s garden. In addition to veggies and herbs, she always grows flowers, applying the wisdom and best practices acquired with experience. Currently a Brecksville resident, she plants what doesn’t appeal to the deer and enjoys the camaraderie and benefits of belonging to the Emerald Necklace Garden Club. Visit the club’s Facebook page for event photos and interesting garden news from a variety of sources. To learn more, go to emeraldnecklacegardenclub.com
Donna Hessel is the author of Northeast Ohio Boomer & Beyond’s Gardening Sweet Spots blog and has been working in gardens for as long as she can remember, beginning as a child, pulling weeds and planting beans and radishes in her grandfather’s garden. In addition to veggies and herbs, she always grows flowers, applying the wisdom and best practices acquired with experience. Currently a Brecksville resident, she plants what doesn’t appeal to the deer and enjoys the camaraderie and benefits of belonging to the Emerald Necklace Garden Club. Visit the club’s Facebook page for event photos and interesting garden news from a variety of sources. To learn more, go to emeraldnecklacegardenclub.com
![]()